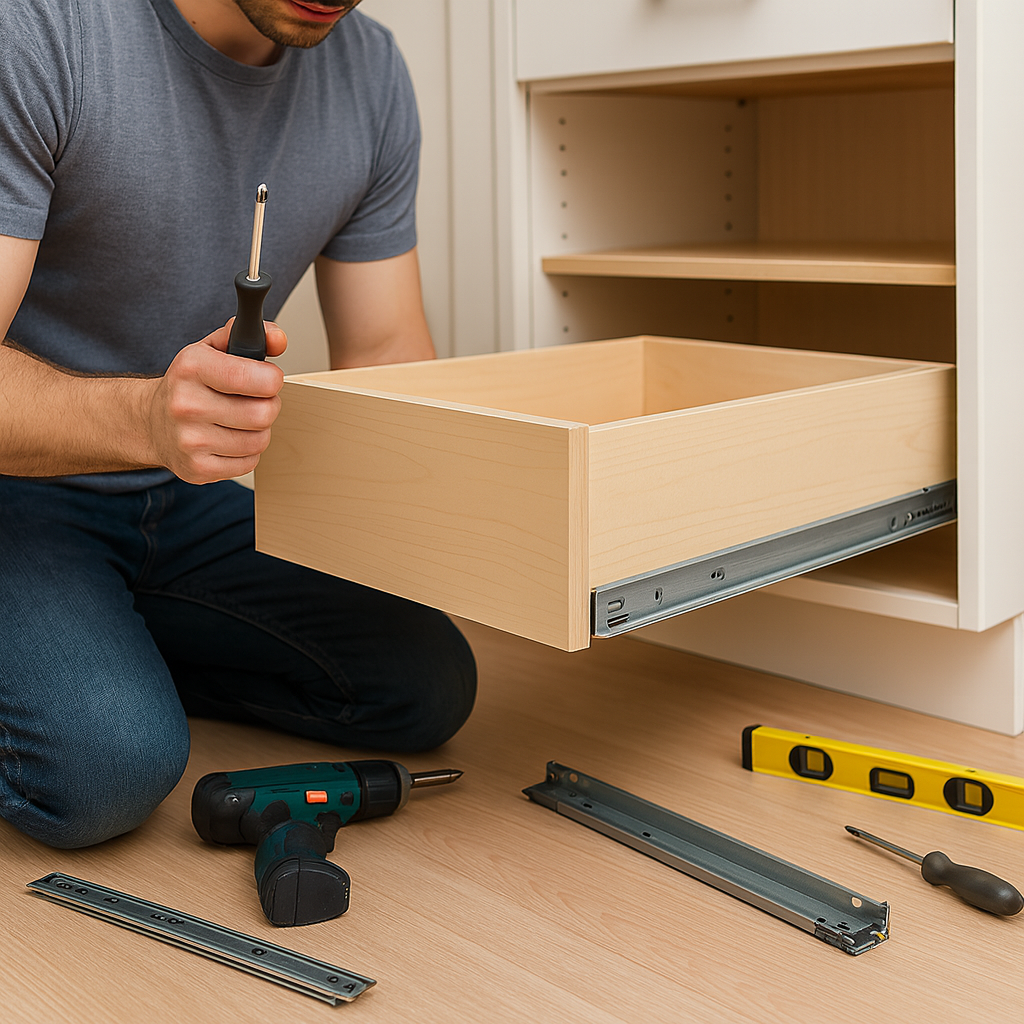
If you’re a homeowner upgrading your kitchen or a cabinet shop owner catering to clients, replacing side mount drawer slides with premium undermount hardware can deliver a major quality boost. You get a cleaner look, smoother action, and higher perceived value. This guide gives you everything you need to complete the job efficiently.
Before You Begin Replacing Drawer Slides
Side Mount slides attach to the drawer sides and the cabinet opening. They are simple and budget-friendly. Undermount slides mount beneath the drawer box and are hidden when the drawer is open. They deliver a crisp aesthetic and premium feel.
Switching makes sense if you want a more refined appearance, less visible hardware, full extension, and soft-close features. But the swap requires the drawer box and cabinet to meet specific criteria. Undermount slides demand optimal alignment, sufficient material thickness, correct width clearance, and a secure cabinet back or base.
Learn more about these two types of slides on our blog post Side Mount vs Undermount Drawer Slides
Step-by-Step Process: How to Replace Side Mount with Undermount Drawer Slides
1. Remove Side Mount Slides
Clear out the drawer. Remove it from the cabinet and unscrew all the side-mount rails. Clean the interior of the cabinet and examine the walls and bottom for damage or deterioration.
2. Measure and Prep
Measure the drawer box, width and depth, existing slide length, and cabinet opening width. Check that the drawer box bottom is flat and the sides are straight. If the drawer bottom is too low (common in older side-mount systems), mark a new placement line for the undermount bracket.
Could you draw a line at the top of the current slide then use that mark to place a new slide in the middle of the drawer? Yes you can, but you’ll likely need to add support or rebore mounting holes in fresh material.
Check the cabinet back and sidewalls: if they are thin or weakened by previous hardware, consider adding a horizontal rail or reinforcing block for the undermount rail.
3. Install Undermount Slides
Follow the hardware manufacturer’s template. Mount the drawer-side bracket underneath the box and mount the cabinet-side rail or bracket in the opening. Ensure both sides align, the drawer sits level, and the slide engages fully. Tighten screws after verifying smooth operation.
4. Test and Adjust
Pull the drawer fully out, push it closed. Check for smooth motion, full extension, correct drawer face alignment, and any wobble. If it binds or the front isn’t flush, loosen screws, adjust, shim, and re-tighten. If the cabinet back flexes noticeably when pulling the drawer, reinforce it: add horizontal rails or rear blocks.
Common Pitfalls and Solutions
Incompatible Drawer or Cabinet Width.
If the clearance between cabinet walls is too large, undermount rails won’t mount properly and the drawer may wobble. Solution: either rebuild the box for undermount compatibility or revert to high-quality side-mount slides.
Weak or Worn-Out Material.
Older or used cabinets often have loose screw holes, weak bottoms, or particle board that’s been drilled repeatedly. Undermount slides demand solid connections. Solution: use thicker blocks behind the mounting surface, re-drill into fresh wood, or add internal reinforcement.
Misalignment.
If the slide isn’t level, parallel to the cabinet sides, or positioned incorrectly, the drawer will bind, skew, or fail to close flush. Solution: use a level during installation, check front and side clearances, and fine-tune before fully tightening hardware.
Final Takeaway: How to Replace Side Mount with Undermount Drawer Slides
By following these steps, you can upgrade to undermount drawer slides with confidence. Whether you’re a homeowner looking to elevate a kitchen remodel or a cabinetmaking shop delivering premium builds, the result is cleaner lines, smoother motion, and a higher-end feel.


