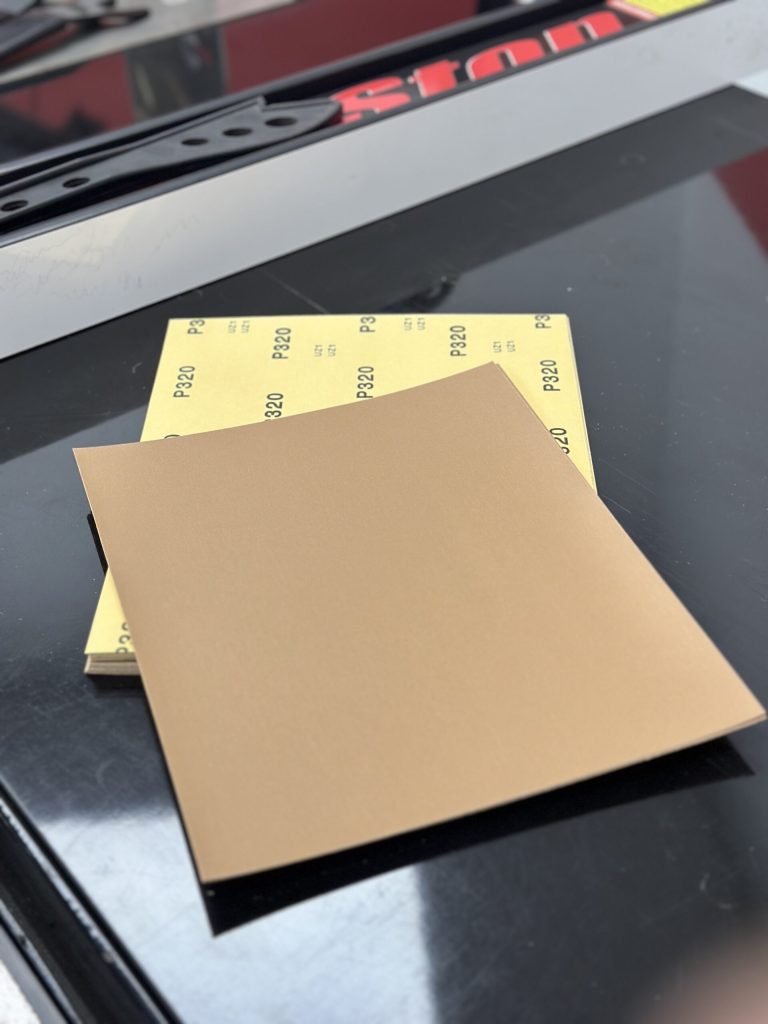
Sanding may look simple, but the difference between a flawless finish and a frustrating mess often comes down to how you use your abrasives. From clogged paper to skipped grits, small mistakes can waste hours and ruin good lumber.
The good news? With a few smart habits, you can extend the life of your sandpaper, speed up your workflow, and get pro-level results every time.

Quick Summary: 8 Tips for Woodworking Abrasives
- Choose quality abrasives for better results and longer life
- Use proper technique to avoid common mistakes
- Maintain your abrasives to save money and get consistent results
Tip #1: Keep Tools Clean
Dust build-up is the enemy of effective sanding. When wood particles clog the abrasive surface, they reduce cutting ability and can create uneven scratch patterns. This not only slows down your work but also compromises the quality of your finish. Professional woodworkers check their abrasives frequently during use, especially when working with resinous woods like pine or cedar that tend to clog sandpaper quickly.
To clean your abrasives, use a cleaning stick (also called a sanding belt cleaner). This rubber-like tool works by pulling embedded dust particles out of the abrasive surface. Simply press the cleaning stick against the abrasive while it’s running (for power tools) or rub it firmly across the surface (for hand-sanding materials). For sandpaper sheets, gently tap them against a hard edge to dislodge dust. Some woodworkers also use compressed air to blow out dust, though this should be done outside or with proper dust collection in place.
When to Clean During Projects
Clean your abrasives when:
- You notice a decrease in cutting efficiency
- The surface starts feeling smoother than it should for the current grit
- Visible dust build-up appears on the abrasive surface
- You’re switching to a different wood type or area of your project
- Before storing abrasives for future use

Tip #2: Replace Worn Abrasives
Even the highest quality abrasives eventually wear out. Using worn abrasives is not only inefficient but can damage your workpiece. When abrasive grains become dull or break off, they leave an inconsistent surface that can create deep scratches or burnish the wood rather than cut it properly.
Signs that your abrasive needs replacement include:
- Noticeably slower material removal
- Shiny patches on the abrasive surface
- Torn or damaged backing material
- Visible wear patterns or bald spots
- Unusual heat build-up during sanding
- Inconsistent surface quality on your workpiece
For production woodworkers, tracking the lifespan of different abrasives can help with budgeting and workflow planning. Keep a simple log of how long different brands and types last on various woods to optimize your abrasive purchases.
Cost-Effective Replacement Strategies
Don’t be tempted to stretch the life of worn abrasives to save money. The time lost and potential damage to your project will cost more in the long run. Instead:
- Buy quality abrasives in bulk when possible
- Cut larger sheets into smaller pieces for detail work
- Rotate sanding discs to distribute wear more evenly
- Keep separate abrasives for different wood types
- Store replacements properly to maintain their condition

Tip #3: Use Proper Pressure and Motion
Applying the right amount of pressure is crucial for effective sanding. Too much pressure can cause premature wear of the abrasive, generate excessive heat (potentially burning the wood), and create uneven surfaces. Too little pressure results in inefficient material removal and wasted time.
For hand sanding, use firm but gentle pressure that allows the abrasive to do the work. Your hand should guide the movement rather than force it. When using power sanders, let the weight of the tool provide much of the pressure, adding only minimal additional force to maintain contact with the surface.
The correct motion pattern depends on your tool and goal:
- For initial sanding with coarse grits: Move with the grain when possible
- For random-orbit sanders: Slow, overlapping passes in any direction
- For belt sanders: Always move with the grain, keeping the sander moving
- For hand sanding: Long, even strokes following the wood grain
- For detail work: Small circular motions blended with directional strokes
Avoiding Common Technique Mistakes
Common sanding technique errors include:
- Pressing too hard, especially with power sanders
- Moving too quickly across the surface
- Sanding in one spot for too long
- Using jerky, inconsistent movements
- Failing to maintain full contact between the abrasive and the wood
- Skipping grit sequences (jumping from coarse to fine too quickly)

Tip #4: Choose the Right Grit Sequence
Selecting the appropriate grit progression is fundamental to achieving professional results. Each successive grit should remove the scratch pattern from the previous one while creating its own finer pattern.
Standard grit progression for most woodworking projects:
- Start with 80-100 grit for initial flattening and shaping
- Progress to 120-150 grit for removing initial sanding marks
- Move to 180-220 grit for pre-finishing smoothness
- Finish with 320+ grit for ultra-smooth surfaces (only when needed)
For rough lumber or removing old finishes, you might start with coarser 40-60 grit. For fine finishing work, you might extend to 400 or even 600 grit for specialized applications.
The key is not to skip more than one grit level in your sequence. Jumping from 80 to 220, for example, will leave deep scratches that the finer grit cannot remove efficiently.
Specialized Sequences for Different Woods
Different wood species respond uniquely to abrasives:
- Hardwoods (oak, maple, walnut): May require more time at each grit level
- Softwoods (pine, cedar): Sand carefully to avoid “fuzzing” the grain
- Oily exotics (teak, rosewood): May clog abrasives more quickly, requiring more frequent cleaning or replacement
- Open-grain woods (oak, ash): May need grain filler between sanding stages
- End grain: Requires finer starting grits and more careful progression

Tip #5: Mind the Edges and Details
Edges and detailed areas require special attention during sanding. These areas are prone to over-sanding, which can round over crisp details or create uneven surfaces that become obvious after finishing.
For edges:
- Use light pressure to avoid rounding over
- Consider using sanding blocks or custom-shaped backing pads
- Sand edges before flat surfaces when possible
- Check frequently for consistency
- Use finer grits for edge work to maintain definition
For detailed areas:
- Use flexible abrasives that can conform to shapes
- Consider specialized tools like detail sanders or sanding sticks
- Fold sandpaper to create small points for tight spaces
- Sand in the direction of detail lines whenever possible
- Take your time – rushed detail sanding is rarely successful
Creating Custom Sanding Tools
For complex shapes, create custom sanding tools:
- Wrap sandpaper around dowels of various diameters for curved recesses
- Use craft foam backing for flexible pressure distribution
- Make custom-shaped sanding blocks from scrap wood for recurring profiles
- Attach sandpaper to popsicle sticks for narrow areas
- Use adhesive-backed abrasives on 3D-printed custom forms for production work

Tip #6: Manage Dust Effectively
Proper dust management improves both sanding effectiveness and workshop safety. Dust that remains on the work surface gets trapped between the abrasive and wood, reducing cutting efficiency and potentially causing scratches.
Effective dust management strategies include:
- Using dust collection systems connected to power sanders
- Wiping surfaces clean between grits with a tack cloth
- Using vacuum attachments designed for your specific tools
- Wearing appropriate respiratory protection
- Cleaning the work area regularly during extended sanding sessions
- Using air filtration systems in enclosed workshops
Between-Grit Cleaning Techniques
Between grit changes, thoroughly clean both your work surface and tools:
- Vacuum the entire surface with a soft brush attachment
- Wipe with a tack cloth to pick up fine particles
- Use compressed air (with proper protection) to clean crevices
- Remove dust from power tool dust collection systems
- Check for and clean dust from sandpaper backing pads

Tip #7: Inspect Your Work Properly
Proper inspection techniques prevent sanding defects from being discovered only after applying finish. Good lighting is essential for spotting issues before they become permanent problems.
Effective inspection methods include:
- Raking light: Position a bright light at a low angle across the surface to highlight imperfections
- Touch testing: Gently run your fingertips across the surface to feel for rough spots
- Pencil marking: Draw light pencil lines across the surface before sanding, then sand until they disappear
- Mineral spirits test: Wipe with mineral spirits (on compatible woods) to temporarily approximate the appearance after finishing
- Systematic visual scanning: Check the entire surface in a methodical pattern
When finding issues, mark them lightly with pencil so you can locate them again after preparing to resume sanding.
Recognizing Common Surface Problems
Learn to identify these common sanding issues:
- Cross-grain scratches: Lines running perpendicular to the grain
- Swirl marks: Circular patterns from orbital sanders
- Burnishing: Shiny spots where wood fibers are compressed rather than cut
- Dish-out: Uneven surfaces where softer wood is removed faster than harder areas
- Pigtails: Spiral marks from aggressive random-orbit sander use
- Fuzzing: Raised wood fibers that need additional sanding

Tip #8: Match Abrasives to Your Finish Plans
Your choice of final finish should influence your abrasive selection and final grit. Different finishing products have different requirements for optimal surface preparation.
For oil-based finishes:
- Sand to 180-220 grit for most applications
- Oils penetrate best when wood pores are open and clean
- Avoid extremely fine grits that can close wood pores
For film-building finishes (polyurethane, lacquer):
- Sand to 220-320 grit for smoother base surface
- Consider light sanding between coats with 320+ grit
- Ensure all dust is removed before application
For water-based finishes:
- Sand to at least 220 grit for smooth application
- Consider raising the grain with water, then light final sanding
- Extra attention to dust removal is critical
Special Finishing Considerations
For specialty finishes, adapt your approach:
- French polish: Progress to very fine grits (400+)
- Milk paint: Stop at medium grits (150-180) for better adhesion
- Distressed finishes: Intentionally vary sanding consistency
- Grain-filling finishes: Sand between filler applications
- Two-tone finishes: Sand differently for each area
By matching your abrasive approach to your finishing goals, you’ll achieve more consistent and professional results.

Final Thoughts: 8 Tips for Woodworking Abrasives
Woodworking abrasives are more than just sandpaper, they’re the foundation of every smooth surface and professional finish. By keeping them clean, replacing them at the right time, and following a smart grit sequence, you’ll save money, reduce frustration, and elevate the quality of your work. Whether you’re prepping for oil, lacquer, or a water-based finish, these eight tips ensure your projects don’t just look good, they last.


