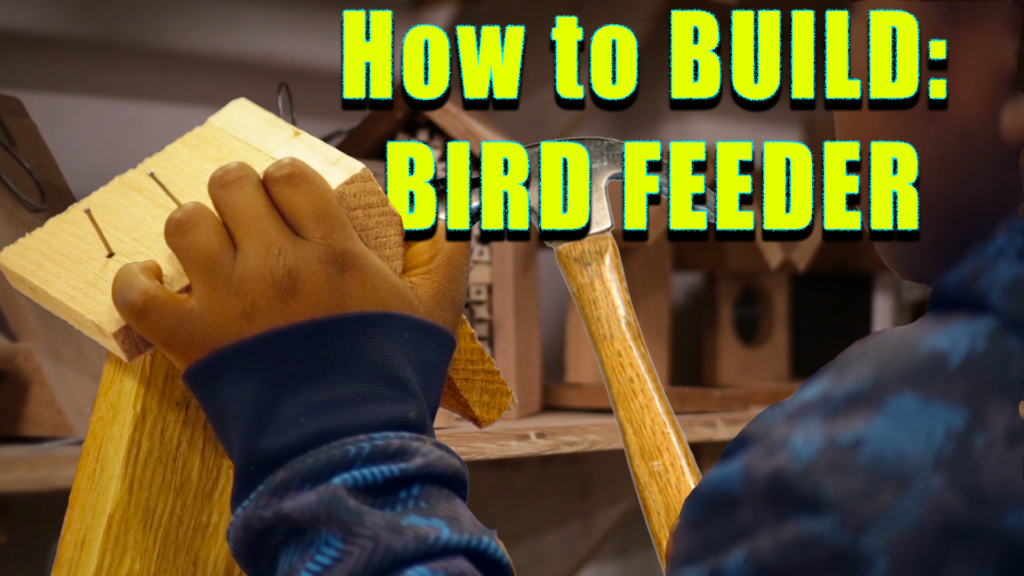
When a group of youth at the Minneapolis Jaycees Charitable Foundation brainstormed ways to make a meaningful contribution, they envisioned crafting bird feeders by hand for a local festival. The success of that initiative has blossomed into Elpis Enterprises, a thriving program inspiring at-risk young people to recognize their potential while providing a tangible connection to nature.
Elpis, the Greek word for “hope,” aptly reflects the mission of this organization: empowering at-risk youth to achieve great things. Over the years, this program has sold over 100,000 handcrafted products, grown into a hub for youth-driven success, and even expanded into community workshops.
One of Elpis Enterprises’ standout offerings is their DIY Small Bird Feeder Kit, an engaging activity for individuals, families, or youth groups. The bird feeder isn’t just a functional addition to your yard—it’s a testament to teamwork, creativity, and the value of building something with your own hands.
How to Build a Bird Feeder: Why Choose the Elpis Bird Feeder Kit?
1. Easy Assembly:
The kit comes with pre-cut components, step-by-step instructions, and all the tools you need, making it perfect for crafters of all skill levels.
2. Meaningful Impact:
Every purchase supports a program that empowers youth to gain valuable skills, confidence, and opportunities. Elpis’ mission is to end youth homelessness through vocational training and employment.
3. Eco-Friendly Design:
Encourage wildlife in your backyard with this thoughtfully crafted feeder. It’s designed to last while providing an inviting space for birds to gather. The materials are recycled wood from local fencing companies in the Twin Cities-metro.
How to Build a Bird Feeder: What’s Inside the Kit?
Each bird feeder kit includes:
- Wood Components: Roof pieces, base, side panels, and center post.
- Acrylic Windows: Clear panels to keep birdseed contained.
- Accessories: Nails, string, a cord threader, and sandpaper.
How to Build a Bird Feeder: Step-by-Step Guide
Step 1: Sand the Edges
Smooth out any rough edges using the provided sandpaper. This ensures a polished finish.

Step 2: Assemble the Roof
Align the roof pieces and nail them together securely.

Step 3: Attach the Base and Sides
Match the base with the side panels, nailing them into place.

Step 4: Install the Center Post
Position the post between the sides and ensure it aligns straight.

Step 5: Add the String
Tie a knot to form a loop, thread it through the center post, and secure.

Step 6: Insert the Windows
Slide the acrylic panels into the grooves on the side pieces.

Step 7: Final Assembly
Thread the string through the hole in the roof, completing your project.

Hang Your Feeder with Pride
Congratulations! Fill your bird feeder with seeds, hang it in your favorite tree, and enjoy the flurry of activity as birds visit their new sanctuary.
By building this bird feeder, you’re not just creating a haven for birds; you’re fostering hope and opportunity for the next generation of at-risk youth.
To learn more about Elpis Enterprises or order your kit, visit www.elpisenterprises.org or email them at Elpis@elpisenterprises.org.


