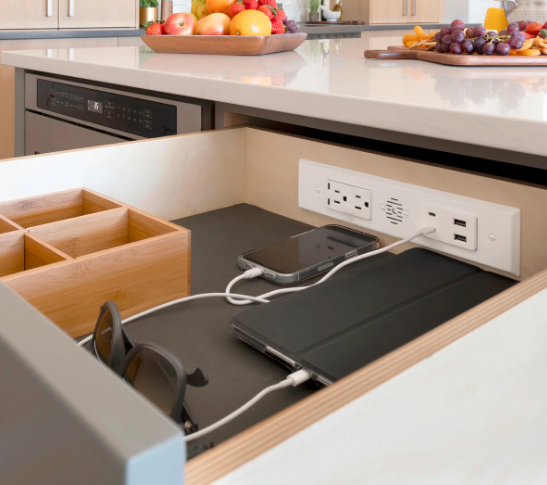
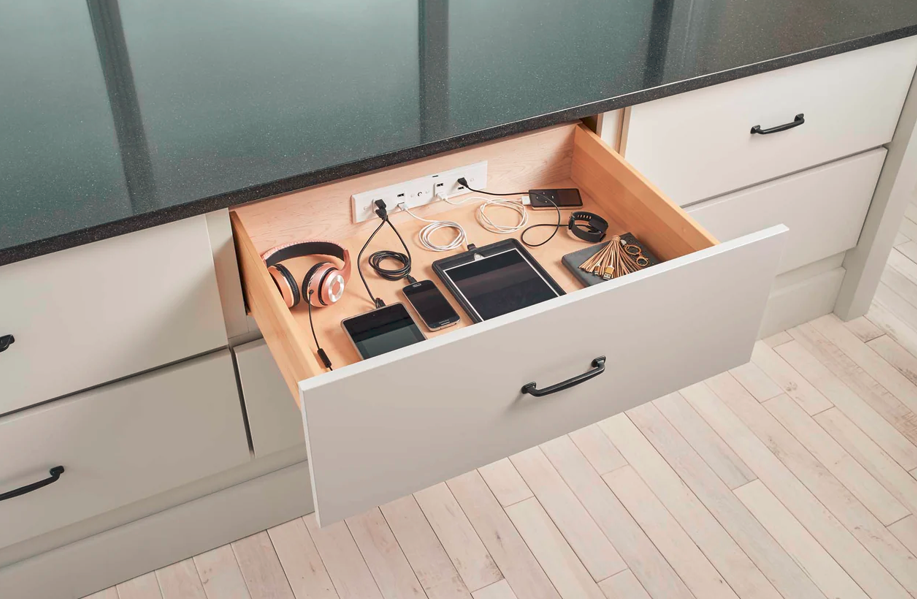
Installing an in-drawer outlet keeps counters clear and cords managed. Follow this step-by-step guide to plan, cut, mount, wire, and test a Docking Drawer Blade Series outlet.
Always follow local code and the Docking Drawer manual for your exact model. Use a licensed electrician for wiring and GFCI or breaker work.
Before You Start: Docking Drawer Installation
Pick the Right Model and Confirm Fit
- Most Blade Series outlets need at least 2 inches of clearance behind the drawer box and a minimum 15 inch drawer box width. Some variants and spacers can reduce clearance to about 1.25 inches. Verify your exact spec in the manual or spec sheet.
- Use Docking Drawer’s planning sheets to match outlet to drawer type. Minimum interior drawer heights vary by shallow, tall, narrow, and vertical drawers.
Plan Electrical and Protection
- Locate a code compliant power source in the cabinet. Plan cable routing so the drawer opens fully without strain.
- Provide GFCI protection where required by code. Docking Drawer shows approved ways to give Safety Interlock Outlets GFCI properties through a GFCI device or GFCI protected circuit. Confirm with your electrician.
Tools
Jigsaw, drill with hole saw and bits, measuring tape, square, pencil, screwdriver, cutout template, and fasteners supplied with the outlet.
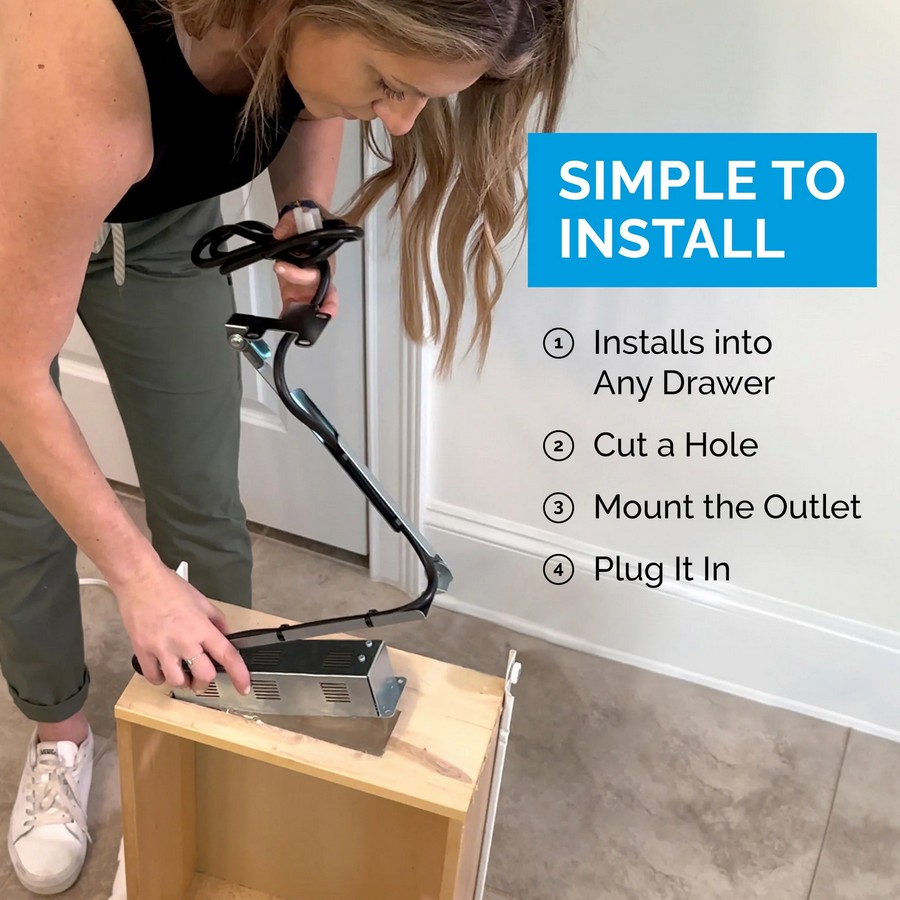
Step 1: Empty and Measure the Cabinet
- Pull the drawer and measure interior drawer height, overall drawer box width, cabinet depth, and the space behind the drawer box. Confirm they meet your model’s minimums before you cut.
Step 2: Mark with the Cutout Template
- Tape the provided template to the cabinet side or back panel per the chosen orientation. Mark pilot holes and the outlet opening.
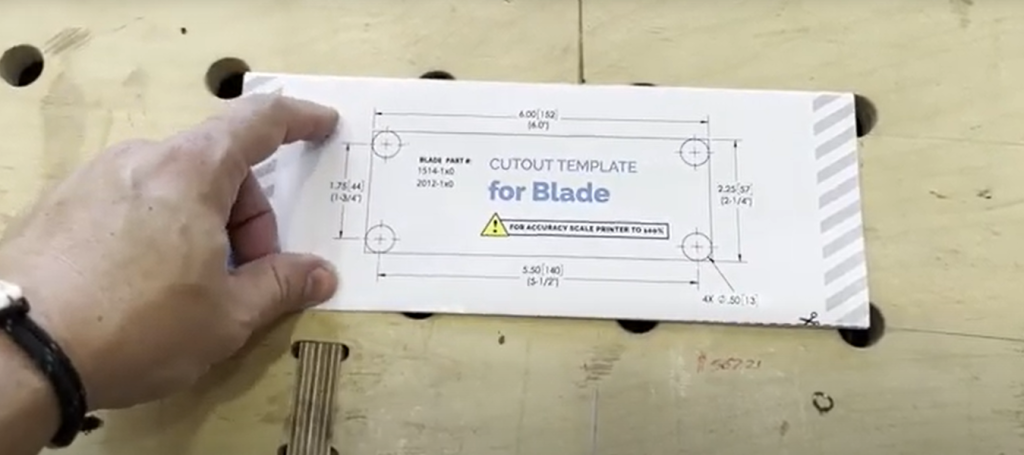
Step 3: Drill and Cut the Opening
- Drill the pilot holes and cut the opening with a jigsaw. Test-fit the outlet box to confirm a snug fit without forcing the housing.
Step 4: Mount the Rear Bracket and Outlet
- Insert the outlet through the cutout and fasten with the included screws. Keep the outlet plumb and square for smooth drawer operation.
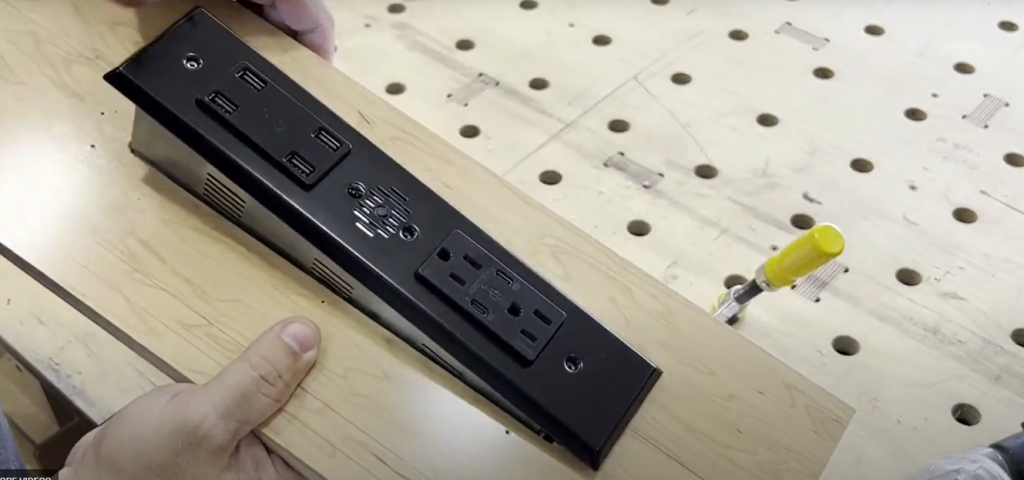
Step 5: Align the Cable Management Arms
- Align and center the arms so they clear slides, face frame, and plumbing. Adjust until the drawer opens and closes without rubbing or pinching cords. Docking Drawer provides a quick video and tips for alignment.
Step 6: Route and Connect Power
- Route the factory cord to the cabinet’s junction point per the Electrical Planning Guide. Provide GFCI protection as required. Do not staple or pinch the cord or arms. Make up connections in an approved box.
- If using a Safety Interlock Outlet, follow Docking Drawer’s wiring diagrams to place it on a GFCI protected circuit or in series with a GFCI device, per the shown methods.
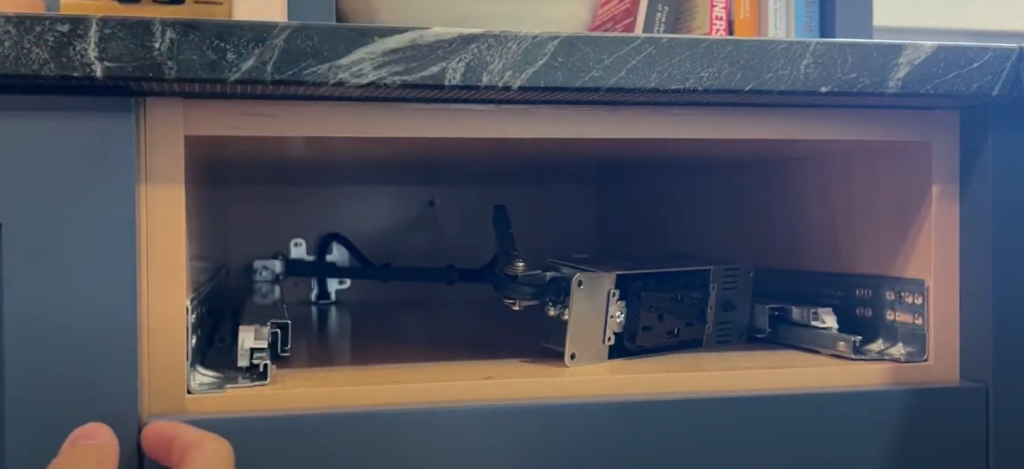
Step 7: Reinstall the Drawer and Test
- Reinstall the drawer. Cycle it fully open and closed. Verify the arms travel freely and the cord does not rub. Plug in a small load and test operation. If the outlet includes an interlock, confirm it functions as specified in the manual.

Sizing and Capacity tips
- Confirm your drawer type and minimums before ordering. Examples
- Shallow drawers often need at least 3 inches interior height and 15 inches drawer box width.
- Tall drawers often need at least 4 inches interior height and 13 inches drawer box width.
- Narrow drawers can work at about 9 inches width with special planning.
Check your exact model sheet for final numbers.
- Blade Series spec sheets show typical cabinet depth limits, minimum space behind the drawer, and outlet configurations such as AC plus USB. Verify amp rating and receptacle mix for your use.
Code and Safety
- Provide GFCI protection where required, such as bathrooms or within specific distances of a water source. Docking Drawer shows approved methods to achieve GFCI properties for Safety Interlock Outlets. Always verify with your local inspector or electrician.
- Keep cords and arms clear of slides and hardware. Misaligned arms are the most common cause of binding. Use Docking Drawer’s alignment guide to correct.
Troubleshooting
- Drawer will not close cleanly
Recenter the cable management arms and confirm the outlet housing is square. - Cord rubs or pinches
Reroute along the path shown in the planning guide and verify the rear clearance is to spec. - No power at the outlet
Check that the interlock or safety switch is satisfied, then verify the GFCI or breaker and wiring method per the diagrams.
Ready for Docking Drawer Installation
Shop Docking Drawer outlets and the cabinet hardware you need at Woodworker Express. We can help you pick the right model for your drawer type and space.
