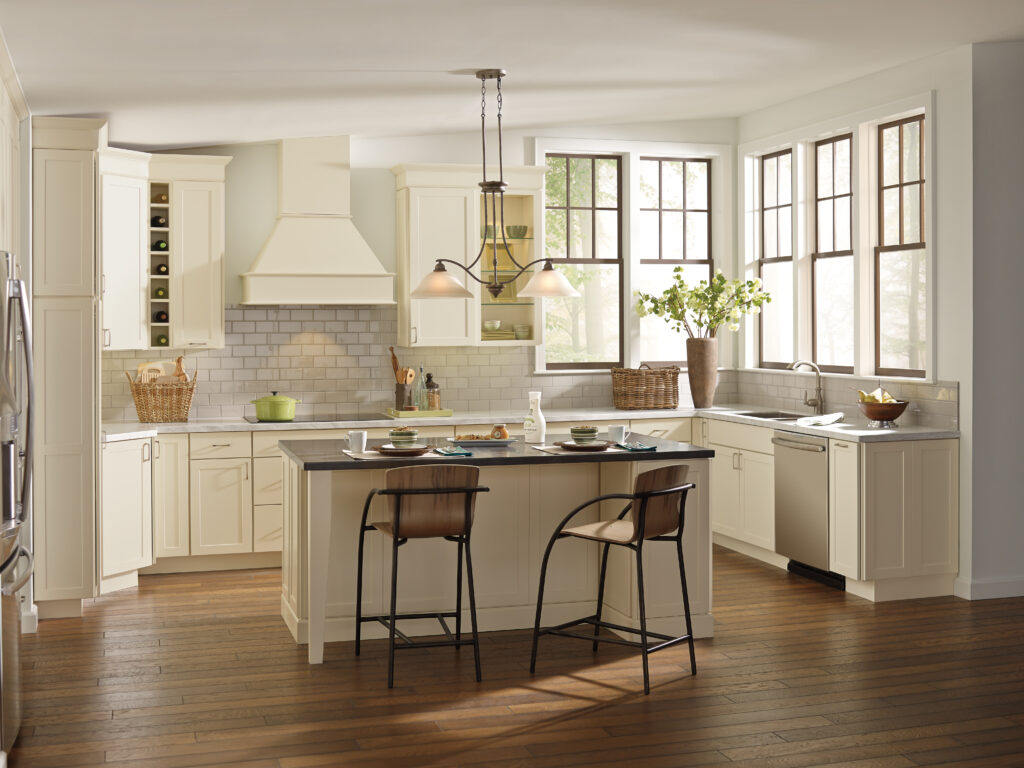
Installing a wood range hood in your kitchen can add a beautiful, custom touch, and with Omega National’s ready-to-finish range hoods, it’s easier than you might think. Follow this step-by-step guide on how to install wood range hood like a pro.
According to Jason Woodward, Omega National Product Manager at Rev-A-Shelf, “Omega National’s Wood Range Hoods offer a simple one-person installation, arriving with a complete kit and all necessary mounting hardware.” The ideal DIY wood range hood.
How to Install a Wood Range Hood in Ten Steps

Tools and Materials To INstall a Wood Range Hood:
- Omega National wood range hood
- Backer board
- T-nuts
- 10-32 and 8-24 screws
- Drill and screwdriver bits
- Hammer
- Level
- Measuring tape
- Stud finder
- Screws
- Pencil
- Ladder or step stool
- Venting materials (if required for your hood type)
Step 1: Unpack and Inspect Your Wood Range Hood
Begin by carefully unpacking your Omega National wood range hood. Inspect all components to ensure they are present and undamaged. Take note of the installation manual provided, as it offers detailed specifications and instructions tailored to your specific model.
Step 2: Install T-Nuts in the Backer Board
Take your backer board and locate the recessed side, which will hold the T-nuts. Install the T-nuts in the recessed side of the board using a hammer, ensuring they are flush with the surface. There will be six T-nuts to install for most models.

Step 3: Locate and Mark Studs
Using a stud finder, locate the studs in the wall where you plan to install the range hood. Mark these studs with a pencil. It’s crucial that the hood is mounted securely to studs, as it will be holding significant weight.
Step 4: Measure and Mark the Mounting Height
Measure and mark the correct mounting height for your range hood, typically between 24 and 30 inches above the cooking surface. Mark the wall accordingly, and use a level to ensure accuracy. Be sure to follow local building codes for proper height.

Step 5: Install the Backer Board
Position the backer board against the wall, ensuring that the T-nuts are facing the wall. Align the backer board with the marks you made earlier. Pre-drill holes and use heavy-duty screws to secure the backer board to the studs. Insert at least six screws to ensure strong support, and verify that the board is level before fully tightening all screws.

Step 6: Install the Blower Insert
Insert the blower into the hood opening, making sure the controls and lights are positioned at the front of the hood. Attach the blower with the provided screws, securing it to the liner.

Step 7: Hang the Range Hood
Attach the hanger plates to the blower insert and secure them loosely to allow for adjustments. Lift the range hood and align it with the backer board, slotting the angle plates on the back of the hood into the angle pieces mounted to the wall. Once the hood is aligned and level, tighten all screws to secure it firmly.

Step 8: Connect Electrical Components
If your range hood has built-in lighting or a blower, connect the electrical wiring. Ensure the power is turned off at the circuit breaker before working on the wiring. If you’re not comfortable doing this, consider hiring a licensed electrician.
Step 9: Install the Chimney
Slide the chimney onto the hood and secure it using the provided screws or cleats. Trim it to the appropriate length if necessary, and make sure it is properly secured to avoid movement.

Step 10: Final Adjustments and Finishing Touches
After installation, check to ensure the range hood is stable and all components are properly connected. Test the blower and lighting to confirm they are working correctly. Make any necessary adjustments to ensure everything is functioning smoothly.
The final step is to finish the wood to your liking. Omega National range hoods come unfinished, allowing you to customize the look. You can stain or paint the hood to match your kitchen cabinetry or leave it natural for a more rustic feel. Be sure to use a quality finish that protects against moisture and heat.

Enjoy Your New Wood Range Hood
Congratulations! You’ve successfully installed your Omega National wood range hood. Not only have you added a functional ventilation system, but you’ve also enhanced the beauty of your kitchen with a stunning wood feature.


